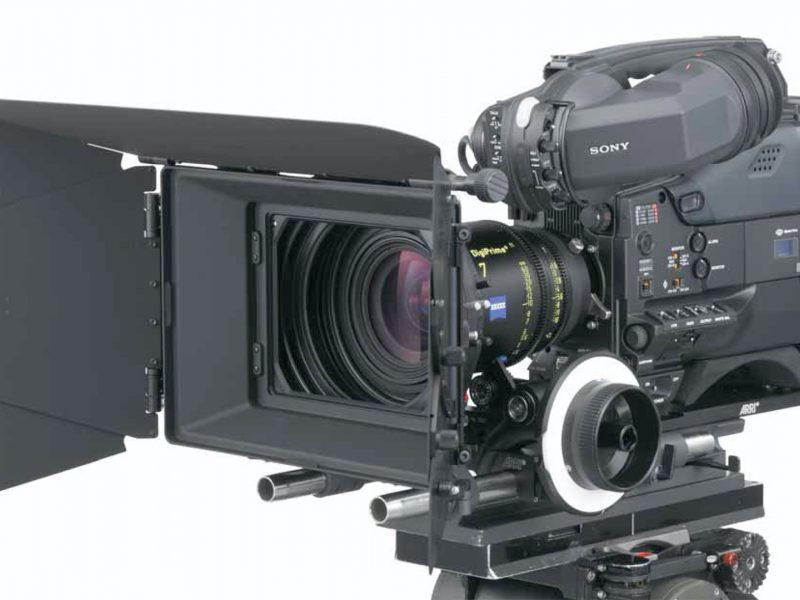
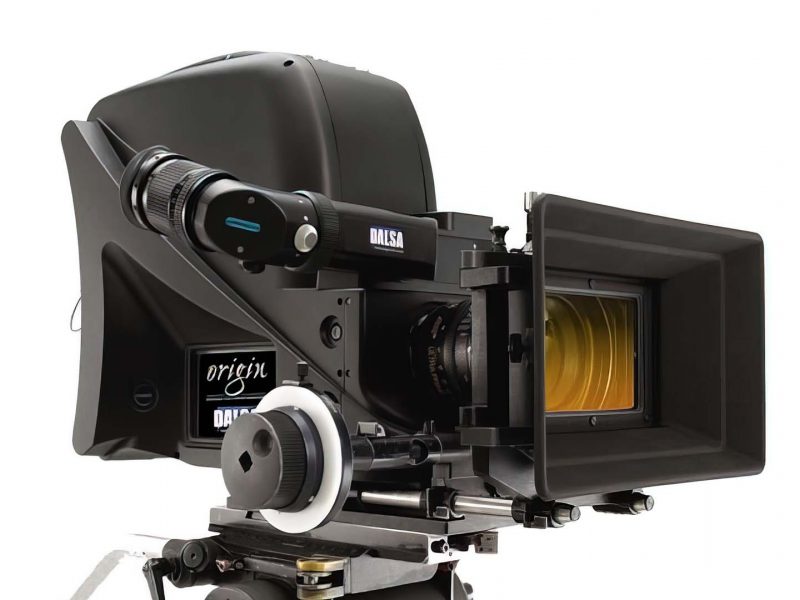
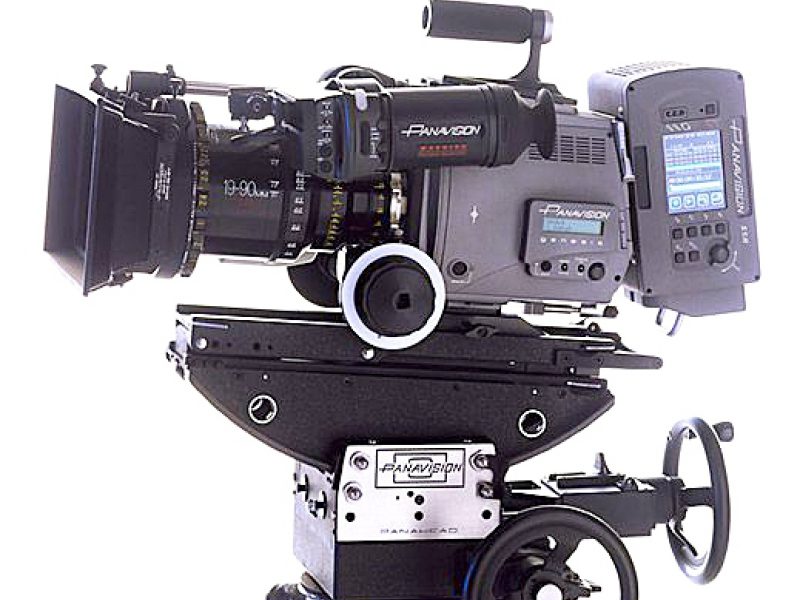
It takes hours and hours to get proficient with a gear head. First goal is to get to the point where you are not thinking about left, right or up and down - it just all of a sudden locks in and you are free to compose. I mainly use the gear head for close-ups and on a dolly. You need to know this tool! All crane shots are achieved with the camera on a remote head which is controlled by a set of wheels on the ground. Be more valuable to your camera crew by mastering these wheels!
This is my first foray into AI imaging. Fascinating what a simple prompt can generate. I got hooked so I made this short film which is now posted in the video section of this site.
I made this to support my lecture on exposure. It's a series of clips that visually depict some of the basic functions of exposure. It's handy for all videographers, particularly those that are trying to ween themselves from auto-exposure. You can jump over to videos or use the link below to check it out! I also have posted a companion piece in musings to support the video images.
Just wanted to show everyone a photo taken with a Leica 100-400mm micro 4/3 zoom on a Lumix GH6. This bird was on our dock the other day so I took this shot hand held all the way in on the zoom (FFrame equivalent 800mm}. Granted, the shutter speed was around 2000, but still that's a long lens to frame and shoot w/o a tripod. The combination of lens and body stabilisation is making a huge impact on nature photography and hand held video production. I wonder when Arriflex will introduce sensor stabilisation to the Alexa camera systems? The waterbird is a Great Egret, very common species in our area.
Each year the ASC magazine features still photography from it's members. I've submitted a number of times but never made the issue, much less the cover. This is a photo I took on the set of MARY a few years ago. The sunset was biblical and the cloud color temp matched the 10K set up for the night shoot we were working on.
Spent a good part of last year making this film about our local area here in the Florida panhandle. No client, no studio, no network - just a good old fashioned documentary made on my own terms. Now that's freedom! Take a look and give me some feedback... https://vimeo.com/769024804
Just wrapped up the spring semester here at FSU and am excited to get back into creating content for the site this summer. Got lots to share - stay tuned.
I was the 2nd Unit Director/DP on “Hocus Pocus 2”. The project was photographed with a “Monstro” sensor housed within a “Panavised” RED camera body. (The Monstro sensor approximates a 65mm 5 perf aperture.)
I’m not sure why we need a digital sensor this large, particularly when there aren’t enough “matched set” lenses available to properly cover the field. We had 7 lenses, 3 different manufacturers and not one of them was faster than a 2.8 plus two lenses couldn’t accept remote iris motors – PLUS - 2 required a special adapter. I noticed some vignetting on two of the lenses but they liked the look and wanted to shoot with them anyway.
If I was paying for a camera package that cost 40K a week I would want the option to add vignetting – not bake it in.
We had a similar issue on Transformers using the Alexa LF – not enough lenses available.
The other big deal is that since the Monstro is a much large sensor, you’ll need longer lenses to match the super 35 field of view. In other words, if you want to match the F.O.V. a 50mm provides via a conventional 35mm sensor, you’ll be wearing an 85mm lens to match that size with the Monstro sensor. We all know that pulling focus on longer lenses is harder, especially wide open.
Not sure we took full advantage of the 5K image either, as we stacked 2 kinds of diffusion in the matte box: #1 Black Satin and ¼ Soft Effects. (good filters for wrinkles and complexion.) Listen, I like that people are pushing the technology but I’m not sure that this sensor is ready for prime time. We are an industry that relies on efficiency and image consistency and I see neither with the Monstro sensor as of now.
PS – I’m hoping this vintage lens craze passes soon, I’m getting tired of veiling and unnecessary flaring.
Here is a handy guide to determine fill levels for a portrait. It also will clarify the definition of "Ratios" for you. I tend to set these levels by eye, but will often take a reading out of interest. I don't use much fill, and in fact, I spend time trying to reduce the ambience near the subject. That's called, "Negative Fill".
I have finally fully committed to LED lights, particularly the RGB variety.
When I first started in the business color negative film was balanced for 3200K and that was it. Shooting outside required correcting 5600K to 3200K, accomplished by inserting a Wratten #85 glass filter or gel in the light path. Shooting on stage employed lights with “continuous” full spectrum, filament based fixtures only. These ranged from 25 watt household bulbs up to large 10,000 watt units. Generally speaking, the color temperature of “practical” lamps and bare bulbs measure around 2500K and the movie lights 3200K. To warm up a movie light to match the warmth of a desk lamp we added “CTO” (color temperature orange). For a cooler or night time look we added “CTB” (color temperature blue). We still use these gels today for correction and creative applications.
The choices were simple, straightforward and around for a long time. Highly saturated party colored gels emerged in the 70’s and were popular in nightclub and hallucinogenic sequences, etc. They are still widely used today. RGB LED lights can replicate any of these gel colors electronically in addition to being able to match ANY other lighting source on set.
Provided you have the latest color meter.
Mixed colored lighting environments never bothered me much until inexpensive, fixed color LED’s arrived. The sometimes bizarre native color they exhibited was noticeable to the eye and very difficult to manually balance accurately until Sekonic introduced the C 700 color meter a few years ago. This meter was able to identify and recommend the gels needed to balance nasty color spikes inherent in cheap LED’s. If you’re in the market for new lights, don’t be seduced by the low price, study the published CRI properties of the light first and look at the spectrographic charts that the manufacturer should provide to the consumer.
An RGB LED color gamut is huge as seen in the above CIE 1931 chart. Old color meters don’t see these additional wavelengths accurately and a color meter has to, if you want a good match to other light sources.
So if you are fussy about knowing exactly what the color temperature of a light is and you need the ability to match that source to other fixtures, be prepared to spend some real money to get the latest color meter from Sekonic. Tough to swallow, but a necessary investment if you are serious about cinematography.
Just concluded our summer semester - 2 classes - taught entirely on zoom. Lots of prep time for each session, in fact way more than I anticipated - approx 4:1
The Zoom platform is pretty cool. I used the "connect the phone" feature for demonstrating simple blocking for a two person table scene. As a class, we shot numerous angles of the dolls (32 shots) that I uploaded for them to edit together, adding the story, the voice overs and any additional B Roll footage they needed to complete their tale. The results were really entertaining!
Filmic Pro is an amazing APP that has tons of photographic features that are applicable to cinematography. It's a superb, affordable teaching tool that I will continue to employ for demonstrations and weekend projects.
Check it out!
Just posted the latest tutorial regarding maintaining proper eyelines around a table. Hope that it is clear and helpful!
I just finished and posted a tutorial on how to build a soft box like the ones we used on the TV show "Salem". These provided a little boost to fire and candlelit scenes that required added fill and ambience. Being un - collimated, the "beam" decays very quickly, just like fire. Total cost is approximately $50.
Some thoughts on Documentary filmmaking, past, present and future...
Documentary (def): using pictures or interviews with people involved in real events to provide a factual record or report.
In 1922, Robert Flaherty's “Nanook of the North” was released and soon became a worldwide hit. This landmark film is considered to be the first great documentary even though it’s been discredited as being a staged work at best or a huge lie at worst. Does it matter that the movie’s protagonist is not actually the chief of his tribe and that Nanook is not his name? He’s not married, has no children, doesn’t live in an igloo, hunts with a rifle not a harpoon and knows better than to ignorantly bite a record disc, knowing full well what a gramophone was.
Idealistically, perhaps Flaherty set out for posterity’s sake to record the native ways of the Inuit people. Beginning with an objective, standoffish camera, he discovered quickly that this style felt dispassionate, lacking emotional connection and interest. So as he moved in closer and got more involved, the Inuit’s began to act differently due to camera awareness. Guess what – everyone does. Committed to his vision and willing to change his approach, Flaherty re-casts his movie with real people in a series of controlled re-enactments that he semi pawns off as being the true arctic experience.
Well, it is and it isn’t, just like every documentary you’ve ever seen.
Morally, I think it’s essential to come clean on matters like this and Flaherty does. When questioned about it he admits, “One often has to distort a thing in order to catch it’s true spirit.”
Before becoming a filmmaker, Robert Flaherty spent a lot of time in the arctic as an explorer, prospector, trapper and surveyor. He obviously loved the region and the people, creating this wonderful love letter to those indigenous tribes.
In addition, the film was instantly popular because polar expeditions were all the rage in the early 20th century. The explorers who planned the daring missions and succeeded became household names and national heroes overnight.
Given the times, audiences loved and embraced this character named Nanook and those that actually knew, didn’t mind that he was a fictitious actor standing in for the historical record. I don’t mind either.
Robert Flaherty started production on “Nanook of the North” in January of 1920 - that's right - 100 years ago.
I spent three consecutive mornings filming sunrises here in Florida over the Thanksgiving holiday. The weather was terrific and I feel like I got 3 good shots via LUMIX GH 5 with a 100-400 mm zoom lens - all the way in. As I was reviewing the footage I glanced over and was blown away by how beautiful the wave form is for this shot. Just thought I would share - Happy Holidays! MV
I’ve been teaching Cinematography at Florida State University for five semesters and I might make big changes to my curriculum and weekly lesson plans.
Why?
Unlike most positions on a film crew, successful Cinematographers must be proficient in all aspects of commercial film production. To be responsible for the “picture” in a motion picture means that you must thoroughly understand the constraints of budget, schedule, location, personnel and unfortunately – the politics of the studio and above the liners. More importantly, Cinematographers must interpret and then assimilate the directors vision into their own.
In the end, it is the directors movie not yours. You got hired because the director judged your skill set and creative past as the best fit for the movie. In other words, the director likes your vision and personality – congratulations!
Notice that the words: camera, lights, lenses, exposure, filters, composition or anything else having to do with photography have not been mentioned thus far?
How can I teach all of this? Answer: It’s not possible. Possible solution: teach the class what they really want and need to learn first while sprinkling in other key aspects of the job along the way.
There’s more and herein lies my academic dilemma. Since May of 2018, I’ve seen at least 100 of the latest student films here at FSU. Some very good, some not so good. What they all have in common though, is mediocre shot design, poor camera operating and sketchy focus pulling. These three functions fall squarely under the category of Cinematography and must be addressed.
Should I scrap fundamental knowledge of interpreting a script, production design, the visible spectrum, basic physics, set lighting, critical exposure, wave forms, histograms and the zone system to make room for intensive operating and focus pulling drills?
Is this a University or a Trade School?
I’m tinkering with this and right now I’m doing more drills because they do need to build confidence in a hands on, stress free environment. I’ll set up a tough shot and they’ll each rotate in as focus pullers and camera operators and don’t move on until they master the shot. The students love this and their sense of satisfaction is palpable.
Ultimately my goal is to find a beneficial balance between the academic and practical aspects of Cinematography that befits a University program rather than that of a trade school.
I think that the students want that as well.
(photo by author: Jazleana Jones behind the camera. Jaz is a student of mine and recent winner of the ASC's "Heritage Award" : Best Cinematography for a Student Documentary)
Florida State University returned for Fall Semester and the College of Motion Picture Arts resumed production in a big way. Here, our BFA 3's are doing test shoots in preparation for their Senior Capstone films. These crew drills also utilize underclassmen in the school to help them get accustomed to all of the various crew positions, both above and below the line.
My Dad received it as an award for community service and he gave it to me when I took an interest in photography in 1966. I wanted the camera bad, because I got an INSTANT photograph via the amazing polaroid process. At that time, a pack of polaroid pictures cost $5 for just 8 exposures. In today’s dollar value, that’s roughly $5 bucks a shot. No wonder my Dad said, “make this pack of pictures last awhile”. And I did - taking one artless picture a week.
The 3000 ISO fine grain film was way ahead of its time, but the camera was not. Its single element fixed lens focuses mechanically via a collapsible bellows housing. The shutter is built into the lens and is triggered by a cable release. Not much different than the camera system Matthew Brady used while chronicling the US Civil War - a century earlier.
In order to view the 3.5" x 4.5" print, a white tab is pulled from the pack that reveals a larger, more substantial tab. This larger tab connects to the actual raw photograph. To get your picture, this tab must be pulled firmly and evenly from the side of the camera body. The photographic process is actuated as the print is squeezed through two rollers that combine the chemicals that render a B&W print.
Take a picture, pull the tabs, view the results.
If you forget to pull the tab, then the next picture you take will result in a double exposure – something I did once, but the creative potential of that “mistake” went completely over my head. Nobody in my family thought much of my pictures and I didn’t either. Consequently, my early photographic career went on about a 10-year hiatus due to budgetary constraints and lack of interest.
Isn’t it interesting that the first years of my photographic career creating visual effects composites at ILM could ONLY be achieved by multiple exposures (known now as multiple passes) on one piece of film.
Little did I know - or care – and thats just fine with me.
PS - I wish I could admit that at 12 years old, I realized how expensive / important each shot is - thus - choosing a subject carefully, prepping for the shot and then shooting at exactly the right time to maximize the value of that $5 dollar exposure. Alas, that was not the case. But now, I do express these same considerations, helping todays student digital filmmaker in the process of being precise and responsible when planning their shots. Sometimes these lessons escape older film students as well.
I continue to try - it's my mission right now.
This card is one of my most treasured possessions. I met Buzz Aldrin at the gala opening of the “Back to the Future” attraction at the Universal Theme Park in Orlando. I was there as a guest of Douglass Trumbull, the VFX pioneer who created the ride. Also in attendance that evening was Buzz Aldrin, the second human to walk on the moon. As a filmmaker, you get to meet a lot of famous people in the movie business and I’ve certainly met my share of them. But meeting and chatting with Colonel Aldrin was an extraordinary and thrilling moment in my life that occurred on May 2, 1991. I grew up in Central Florida and witnessed every manned space flight up to Apollo 8. Like every other boy in my neighborhood, we were completely taken with the space program and astronauts. If a launch occurred during school hours we all piled out to the playground to watch it lift off. In less than 10 years, the wispy contrail of Mercury 1 turned into the colossal Saturn V vehicle, clearly visible from our playground 35 miles away.
Buzz and I talked of these things and more and when he had to move along, he gave me this card. When I got home I put it in a safe place, so safe that I forgot where that was. 28 years later I found it while packing for the move to Tallahassee. I was leafing through some old books that I was planning to give to Goodwill and there, tucked within the pages of a book about “Peter the Great” was the card, so close to being lost to me forever.
I almost burst into tears when it fell out of the book and landed face down on the floor. Could it be my Buzz Aldrin business card? Yep!
I just bought this lens and these are the first images I took with it on a GH 4. Amazing resolution, tone and depth. Very excited to test it at night - and soon!
Here is an indispensible tool that has helped me plan literally hundreds of shots over the last 20 years.
Just finished a 5 day stunt sequence on a movie in Alabama. The above shot was accomplished via a "Russian Arm" camera car out of Florida. This was one of 8 camera's (one being a high speed drone) on this van flip. The weather was great, the crew superb and the shot went off without a hitch and safely. I can't say the name of the movie yet but it was wonderful to get back in the game if for only for a few days.
This is the three axis gyro stabilized remote head on the end of the arm atop a Porsche Cayenne. The camera is an Alexa Mini with a V Lite Hawk anamorphic zoom lens out front taking the 4K ARRI Raw image. Not bad for a modestly budgeted film!
The Documentary Cine class practices mock interviews in preparation for their projects that will take them far and wide arounf the US. The real shoots begin in early March and they will be ready!
We just completed this exposure exercise using candles and a backlight only. Our exposure was f2.5 at 800ISO on the RED.
This was a fun class exercise where we learned that it's not just balancing the green screen to the cars optimum exposure - but that it's all about the additional lighting and grip tricks that make the shot come alive and feel real. Sometimes we're not aware of all the active lighting happening around us when we are outside - either day or night. Next time you're a passenger in a moving car watch how much light plays on the drivers face. It's a very lively environment!
On the set of Ben-Hur, 1959 - Academy Award winning director William Wyler looks through his finder attached to a giant Ultra Panavision 65mm camera. Though there was a bit of parallax, directors could get a solid sense of the frame and the camera operating. Gone are the days where directors sit next to the camera and get a real feel for what's happening on set. Peter Weir still sits nearby, but no one else I can remember does. The reason the camera looks so massive is because it is enclosed in a sound blimp. 65mm camera's were very noisy in the 50's, so for dialogue scenes the blimp was a critical part of production. All in, the camera, lenses, accessories, blimp and head weighed around 200 lbs. No Hand Held shots in this format! The other unique feature of Ultra Panavision was that it put a 1.25 anamorphic squeeze on the 65 frame rendering a wide screen aspect ratio of an eye-popping 2.76:1.
The "70" refers to the release print which was 2.5 mm wider on each side of the original 65mm color negative. In these 2.5mm margins resided the magnetic sound track.
After a hiatus of nearly 50 years - director Quentin Tarantino and cinematographer Robert Richardson, ASC, revived the format with some of the original Panavision lenses (re-housed) for "The Hateful Eight".
Finally getting close to completing the tutorial on aspect ratio's. Here's a sneak peak at a couple of frames from the anamorphic sequence. This whole thing started out as a quick review of various film formats but then I went down the rabbit hole and I'm still digging. Look forward to the release sometime in January!
I think you'll like it - MV.
I'm working on a new tutorial about film formats and aspect ratios. I've discovered some new facts about the development of our amazing industry and my goal is to deliver them to you in a clear and entertaining video. Hoping to finish before Thanksgiving.
Here are the two sections of my awesome Cinematography class at Florida State!
This week, our cine specialists lit a location dining room interior for a sunset and a night interior look. The exercise took place during the morning.
We rigged this hood mount with the Matthews suction cup car kit. It took about 45 minutes to install and the shot looked great! The "visor" above the windshield cut all of the sky reflection. Due to the extreme angle of the windshield, the polarizer was ineffectual when viewed from the camera angle.
A laborious but useful project to photograph the look of all our diffusion here at FSU. Diffusion has a different look outside, so if you're considering using some, make sure you test it in daylight conditions too!
Here's a composite for a scene from "CHOCOLAT".
Scott and Millie Line up a shot for an in studio lab exercise.
Cinema and acting classes join forces here at FSU for an on set exercise. The actors performed scenes from "Sex, Lies and Videotape" filmed on a RED camera by three of our cinematographers from the College of Motion Picture Arts here at Florida State. They had 4 hours to light, rehearse, block and shoot two 2 page scenes from the movie - and they succeeded!
I’ve worked with some big time directors. But of all of them, the man I enjoyed collaborating with most has got to be, Ron Shelton. He is a 'man’s man' and his earliest and arguably best movies are un-abashedly masculine. Witness: “Bull Durham”, “White Men Can’t Jump”, “Cobb” and “Tin Cup”.
Though I worked on “Cobb” as the 2nd Unit Cinematographer I wanted to take a moment and reminisce about my job as 2nd Unit Director and Cinematographer on “Tin Cup”. First, I used to be an avid golfer so working on a film about a fictional US Open with real PGA players sounded fantastic to me. Kevin Costner as a hapless driving range pro getting a shot at the big time is a wonderful concept that many of us duffers fantasize about - like hitting the free throw that wins the NBA Championship or striking out the side to win the World Series. All of that aside, this is more about being thankful to work in an industry that allows us to experience so many interesting things in so many exotic places. Here are some photo’s I like from my “Tin Cup”, filmed in California, Arizona and Texas in 1996.
The film was a popular hit and a financial success for Warner Bros and I’m still in touch with Ron and many crew members from that production.
The last month has been crazy and I apologize for not updating my site more frequently. I've been in LA getting my hours as an operator on NCIS and SILICON VALLEY which I DP'd the last day of their season. I like both productions very much and had a nice time in Los Angeles.
"Lighting with Fire" Watch it in the "Videos" section of this website.
It's an interesting video that I struggled with at times because there isn't a heck of a lot to tell about shooting with fire. Fire and candles are dim and you need fast lenses and high ISO's to be successful. Having shot 3 seasons of a 17th century period piece taught me that I wished there was electricity around in 1690. Our sets were hot and smoky and a bit one dimensional as far as the lighting was concerned. I'm very proud of the look of SALEM and can say without hesitation that I'm very good at lighting with fire.
I will try to be more timely in my updates and promise you that my site means a lot to me and I know I can do better in spite of my current circumstance.
Allen Easton operates the first shot of the day.
The following is an excerpt from a book I'm writing, "A Filmmakers Guide to Success". This passage is from the Production section of the text.
Day One - here we go!
As I mentioned earlier, many 1st AD’s will try to schedule a couple of easy days at the front of the schedule. This allows the crew to get off to a good start in the eyes of the producers and the studio. Keeping the studio happy means less interference from nervous studio executives who may have stuck their necks out for the project, the director or the lead actors.
On the first day of principal photography, everyone is excited to finally start shooting, enough with the meetings and memo’s. On day one, we rarely get off to a fast start, and once behind schedule it can be difficult to catch up. Success depends on getting the actors to the set on time. The Hair and Make-up teams will take a bit more time today, especially if an actor suddenly decides that their character “look” isn’t working. This can be a real problem and a bad omen. Eventually, the actor will get out of the chair and show up for rehearsals and blocking, though not in full costume or finished make-up.
It’s now time to rehearse the first scene and much discussion might occur for the benefit of the story. On almost every project, there has always been an actor that challenges the director in some way regarding the notion and mechanics of a scene. This can be hard to watch and listen to. Eventually, a compromise is reached at the cost of expensive production time and momentum. Makes me wonder why certain actors with this reputation ever get cast. I never look forward to shooting scenes with actors who are perpetually dissatisfied or difficult and whenever I see them coming I say to myself, “Throw out the Anchor.” You’ll get no names from me.
When everyone is finally on the same page, the process of creating a scene begins. Most actors perform at half speed when rehearsing. Often times they’ll be referring to the script for their lines. I’m a keen observer of rehearsals and it’s the DP's job to help actors get to places that are better for camera and lighting. Like staying out of corners or playing to the lens a bit more. If I see a potential blocking issue - adjustments should be made before everyone gets to used to playing it a certain way. Diplomacy is key here and the blocking revisions should be fair to the actor’s instincts while serving the technical necessities. Sometimes an actor will say no to the new idea and that’s certainly their prerogative. The camera operators input is encouraged at this time because they are thinking about the entire shot and not just the first position. They need to make sure the coverage of the actor is maximized while staying out of each others way. They will work things out together quietly and efficiently - most of the time.
Have just finished an episode on NCIS LA as their B Camera Operator. What a pleasure working on an extremely well run television show. They are in their 9th season and are shooting on the Paramount lot occupying stages 8 and 9. It was fun for me to sit back and watch everyone else tear their hair out for a change. I love operating and especially with a cast that hits their marks time and again. My friend Terence Nightingall directed "Warriors of Peace" and it should be on sometime in March. Would love to return to this considerate and professional team!
Check out my latest video on how to create an awesome meteor strike illusion at the Premiumbeat tutorial channel on Youtube.M
The movie finished on schedule despite a one day delay due to Hurricane Nate.
Though I was excited to hear the comforting whir of a film camera again, in retrospect I’m not sure that a film system was the best choice for our shoot. The images are beautiful but the cameras and lenses are large and reloading takes time and is a buzz kill for the actors concentration and momentum. You might think that a 65 foot sailboat is large but add two Panavision Cameras plus camera crew, a sound guy and at least two grips and oh yeh, at least two to four actors and our estimable director, Michael Goi and we were flat out of room. Because it was a private vessel, our options for rigging were limited as well, made more problematic by the sheer size of our cameras.
Necessity was the mother of invention in every way on this project.
…and shooting on film once again!
October 7, 2017
We should be at work today but we’re off, due to Hurricane Nate who arrives here in about 3 hours. It’s raining as hard as I’ve ever seen it at the moment. I’m in Gulf Shores, Alabama operating for Michael Goi on his feature film directorial debut. He also serves as the movie’s cinematographer. We’re here making a horror movie aboard a possessed 65 foot sailboat named, “Mary”. The great Gary Oldman, plays the proud new owner of a boat he always wanted and that’s about all I can say about the story for now.
I’m in LA for a series of meetings about a pre-production shoot for a much larger project that starts in a couple of months. Because the meetings are interspersed across two weeks, culminating with a 2-day shoot, I decided to drive down from Montana.
It’s around 1200 miles and there are two ways to go: Interstate 15 via Las Vegas and Utah or through Nevada on the “loneliest road” in America, state highway “6”. I chose the latter. There is something about 2 lane roads that really appeal to me, particularly when I’m headed for a city that has 10 lane super highways.